
How to build a beautiful gallery wall
So I’ve talked all about the reasons why you need to have a gallery wall in your home. You’ve thought about it a little bit, done some research, looked at the blank space on your wall and have finally committed. You’re hanging own up your own beautiful photo gallery wall.
Building your own gallery wall can be quite the process. Putting together my wall took me about 6 months from beginning to end. But you can get it done as slowly or as quickly, as big or as small as you need – just know that the end result will be amazing so don’t put it off too long! Here are the steps to follow to get you started:
Find the right space
Every home is different so finding the right place to put up your gallery wall is important. The size of your space will dictate how many photos you will need and the size to work with.
- What room/space are you in often? With the time and effort you will put into this, it makes sense to choose a spot you are in often. This could even include a hallway or staircase you walk by everyday.
- How big do you want to go? Do you want your gallery wall to be floor-to-ceiling or something simpler and smaller?
- Measure your space so you have an idea of the number and size of pictures you can fit in.
Choose your photos
Picking the art and photographs to include in my gallery wall was probably the longest part of the process. You may want to choose a theme such as all black-and-white images. It may be a family photo gallery with pics of your kids, parents, siblings and more. It could be focused around nature and landscapes you have visited. Whatever you choose to hang up on your wall, be sure that you love it and it brings you joy. That feeling and sentiment will come across to all those who view your gallery wall as a whole.
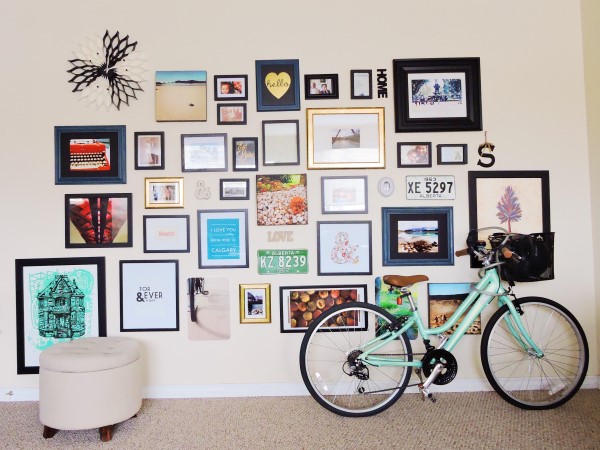
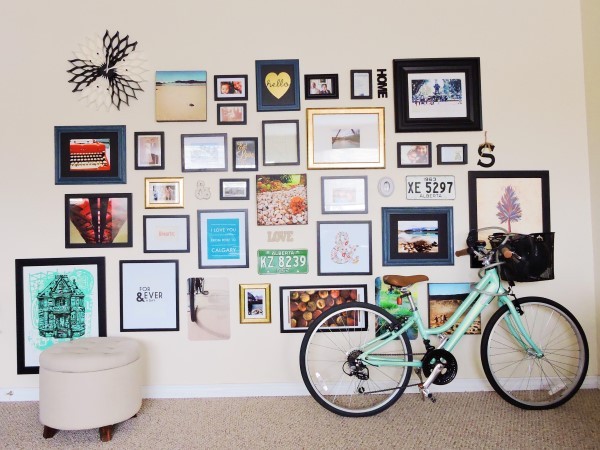
I chose to do an eclectic mix of images of family, friends, and home interspersed with elements of art, quotes and other meaningful pieces to me. The beauty of a gallery wall is putting your personal touch into such a visual display for all to see.
- As you pick and choose images, save them in a folder in your computer so they are all in one place.
- Be aware of photo size as you pick your images – do you want them all to be 8 x 10s or various sizes? High-res files are always best for printing.
- Think of how all your images will go together so you can best complement colors, styles, and content.
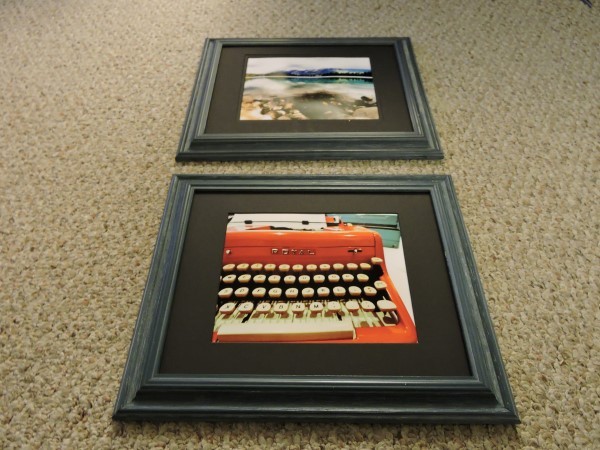
Framing your photos
Now that you have printed all your images, it’s time to put them into picture frames. Similar to how you chose your photos, you will want to consider what colors and styles will match your pictures (perhaps even your wall color will sway your decision!).
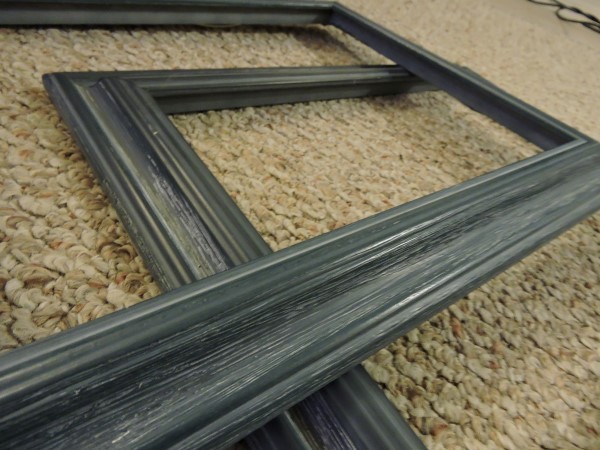
- Shop around – go to lots of different stores to see what options there are and see what frames you like.
- Don’t discount the discount stores – places like Goodwill, Value Village and the dollar store are great places to find cheaper frames.
- If you have multiple photo sizes, make sure to keep a list of each image so you know you have purchased the right size and number of frames.
- PRO TIP: Check the back of all the frames to see what the hanging mechanism is – it’s best if they are all consistent so you have an easier time putting them up. I prefer the sawtooth hooks as opposed to the triangle hooks.
Choose your wall gallery layout
Hanging all your chosen framed photos can seem like a daunting task. But there are two steps I followed that will help.
1. Lay all your photos on the floor in your desired placement. Move things around and see how they look next to each other. Perhaps you want the photos close together, in a square format or all spread out in a non-uniform matter. Play around with it!
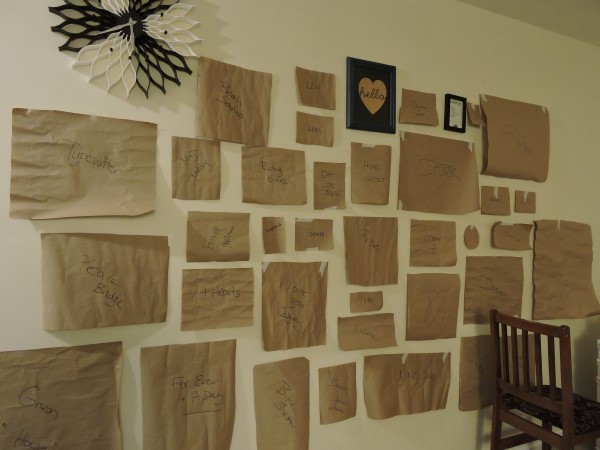
2. Once you feel that you have the right layout for your gallery wall, grab some paper and start tracing around each frame. Cut out each piece and start taping to the wall. This will show you how your placement will start to come to life on your wall. If you find that the layout isn’t working now that you see it up, move things around again.
Time to hang it up!
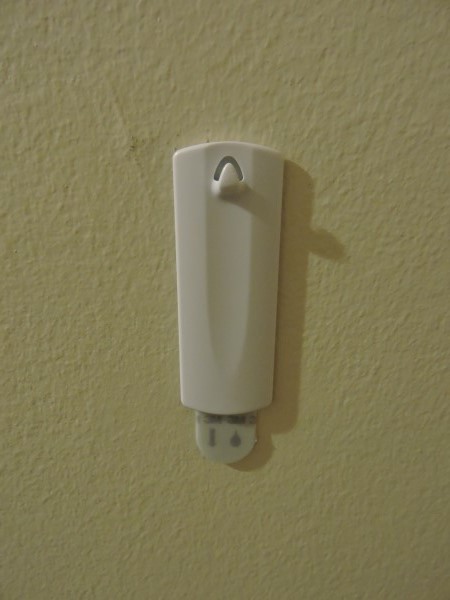
Now that everything is in place, it’s time to get the hammer and nails! But if you’re renting an apartment where you don’t want to put holes in the walls or don’t have any tools handy, then these handy Command hooks are great for photo frames. There are a mix of Velcro and hook options available which I found useful for the different types of frames. For the larger frames, the Velcro strips are great for heavier pieces to make sure they hang sturdy. The hook options are really easy for the frames that are smaller and lighter.
- A level will be your best friend in this final step. Use it often to get those pictures up and straight!
And that’s it! Good luck with your gallery wall and I’d love to hear what tips and tricks you come up with too. Comment below or tweet me at @heyseto.


You May Also Like

Review: Keeping clean with the Shark ION Robot vacuum

10 drinks to cozy up with at YYC Hot Chocolate Fest